
Install Azure Stack POC into a VM
Update 09.03.2016:
Although the setup just works fine in the VM and you can even provisioning Subscriptions and Tenant VMs there are some serious issues with networking when using this nested setup. As soon as you connect to a fabric VM (with RDP or VM Console) the VM with the virtual Hyper-V Host will crash. Many thanks to Alain Vetier for pointing this out and sharing his finding here! See also his comments below.
Last week Microsoft released a first preview of the Microsoft Azure Stack. The software stack which allows you to run Azure in your own datacenter.
Official a physical server with quite a lot of CPU cores and memory is required to deploy the Azure Stack Technical Preview. Because I do not have any spare servers in my home lab to use exclusively for the Azure Stack Technical Preview I looked for an alternative and I tried to deploy it in a VM. And here is a short walk through how you do it.
Requirements
First of all you need the following:
- A Hyper-V Host installed with Windows Server 2016 TP4 (TP4 is needed for nested virtualization feature)
- The “Microsoft Azure Stack Technical Preview.zip” file which you can get from here: https://azure.microsoft.com/en-us/overview/azure-stack/
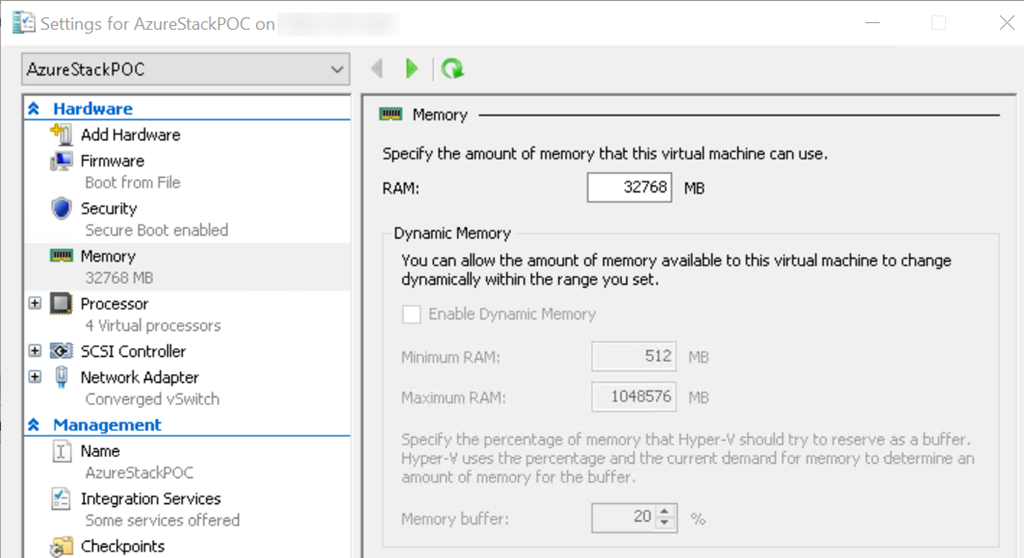
- At least 32GB of RAM and 150GB of free Disk space available
Preparation
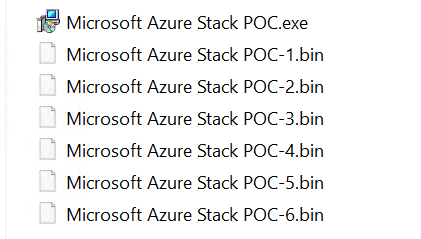
Frist extract the Microsoft Azure Stack Technical Preview.zip on to the local hard drive of the Hyper-V Host. This will lead you to a folder with an .exe and 6 .bin files.
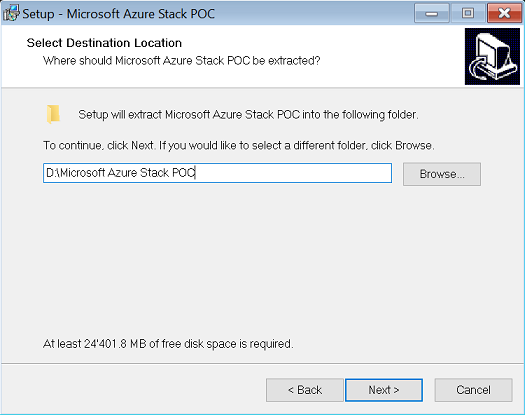
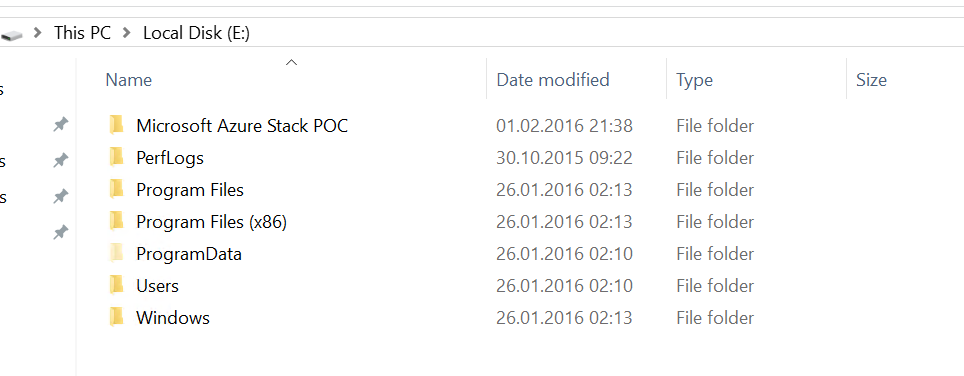
Run the Microsoft Azure Stack POC.exe to extract the actually data to deploy the Azure Stack Preview. This created the “Microsoft Azure Stack POC” folder.
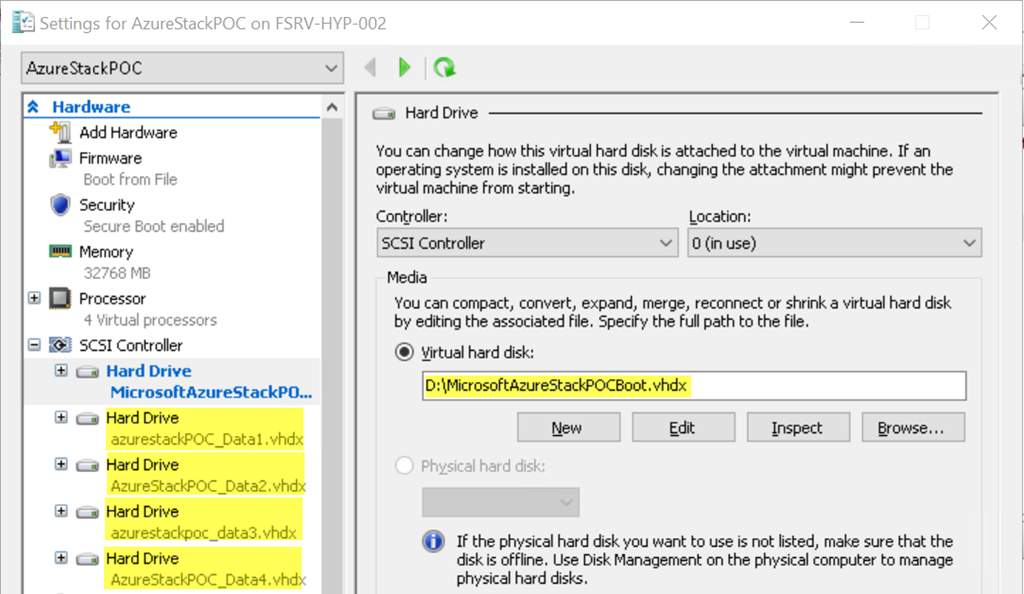
Then copy the “WindowsServer2016Datacenter.vhdx” outside of the “Microsoft Azure Stack POC” folder and rename it to e.g. MicrosoftAzureStackPOCBoot.vhdx.

Mount (double click) the copied VHDX and copy the whole “Microsoft Azure Stack POC” folder into it.
Then dismount the VHDX through Explorer or by PowerShell (Dismount-VHD)
Now it’s time to create a “litte” 😉 VM with 32GB of RAM at minimum and as much vCPU as your hardware can suffer.
Note: Dynamic Memory must be disabled on this VM!
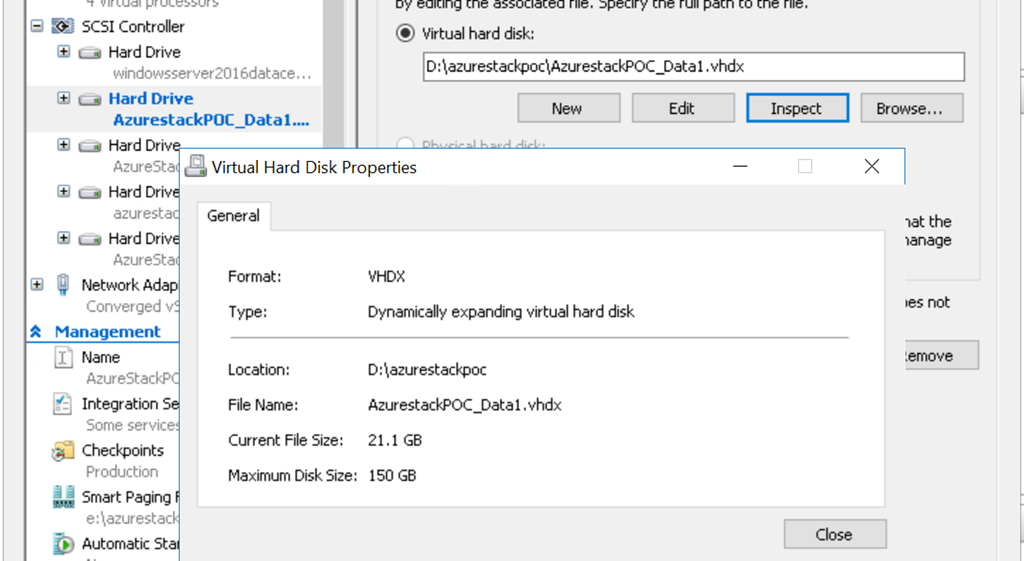
Use the copied VHDX form above as the first disk (boot disk) of this VM and add 4 more empty data disks. (min. 140GB each)
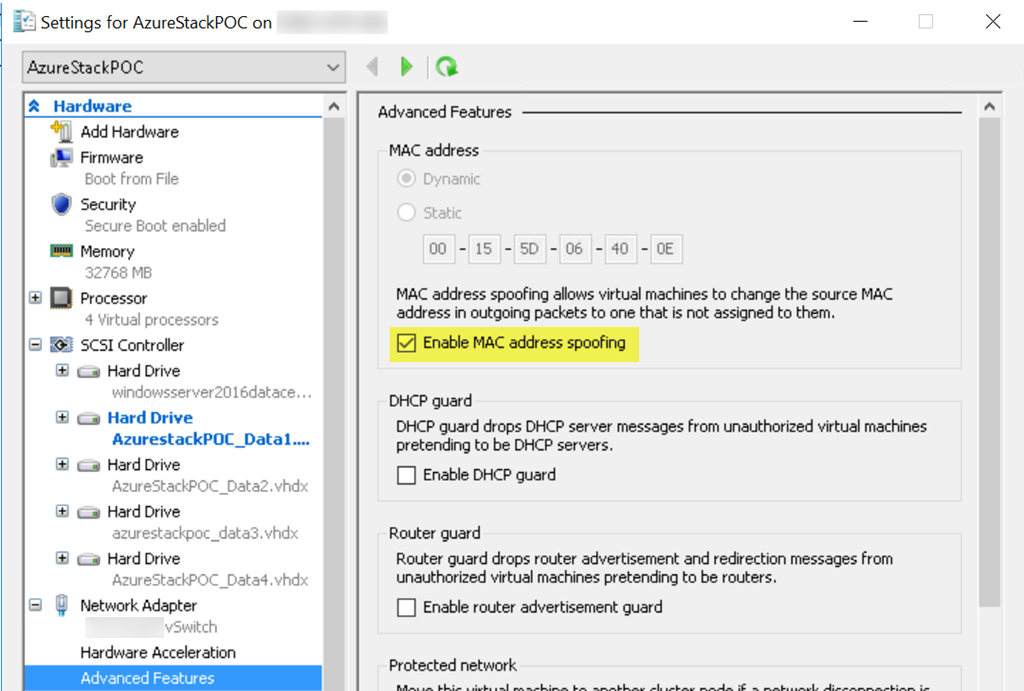
Enable MAC address spoofing on the Network Adapter.
This is need for network connectivity of the nested VMs which the Azure Stack Setup will create.
Lastly the nested visualization feature (new in TP4) must be enabled on the vCPU of the VM. Do this with the following PowerShell command:
Set-VMProcessor -VMName azurestackpoc -ExposeVirtualizationExtensions $true
Azure Stack Deployment
Now start the VM and answer the question of the Windows Setup and the login with local Administrator account.
If you have less than 96GB RAM assigned to the VM you have to tweak the deployment script before you start the setup. Daniel Neumann has written an excellent blog post about the necessary modifications: http://www.danielstechblog.io/microsoft-azure-stack-technical-preview-on-lower-hardware/
Now, finally, you can run the PowerShell deployment script (Deploy Azure Stack.ps1) as it is described in the original documentation from Microsoft. The script will take several hours to finish. So better get you a cup of coffee or have a “little” break and hope everything goes well. 😉 If it does, you will get a functional Azure Stack installation in a VM.


Leave a comment